Share Post:
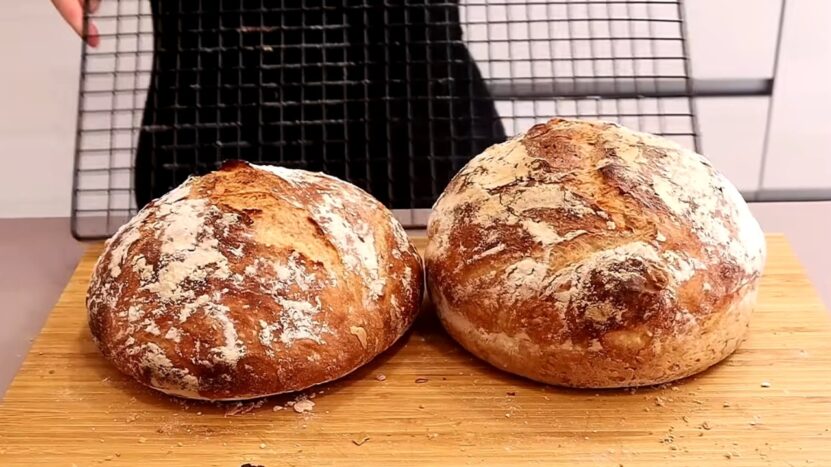
Baking bread is both an art and a science. While the ingredients play a crucial role in the final outcome, the oven temperature can make or break your loaf. But what is the ideal oven temperature for baking bread?
The Science Behind Baking Bread
Baking bread is a transformative process. As simple ingredients like flour, water, yeast, and salt come together, they undergo a series of chemical reactions, all of which are influenced by temperature.
The Role of Yeast and Fermentation
Yeast is a living organism, and it thrives at certain temperatures. When mixed with flour and water, yeast begins to consume the sugars present, producing carbon dioxide. This process, known as fermentation, is responsible for making the dough rise.
- Optimal Temperature for Fermentation: Between 75°F to 78°F (24°C to 26°C).
- Too Cold: Yeast becomes dormant and fermentation slows down.
- Too Hot: Yeast can die, halting fermentation altogether.
The Maillard Reaction and Caramelization
These are the two primary reactions responsible for the browning of the bread’s crust. The Maillard reaction occurs between amino acids and reducing sugars, while caramelization is the browning of sugar.
- Optimal Temperature for Maillard Reaction: Above 300°F (149°C).
- Optimal Temperature for Caramelization: Above 356°F (180°C).
3 Factors Influencing Oven Temperature
While there’s a general consensus on the ideal temperature range for baking bread, several factors can influence the exact temperature you should set your oven to.
1. Type of Bread
Different breads require different temperatures. For instance:
- Lean Doughs (like baguettes): Higher temperatures, typically around 450°F (232°C) to 475°F (245°C).
- Rich Doughs (like brioche): Lower temperatures, usually between 350°F (177°C) to 375°F (190°C).
2. Oven Variability
Not all ovens are created equal. Some ovens might run hotter or cooler than others. It’s essential to know your oven and possibly invest in an oven thermometer to ensure accuracy.
- Conventional vs. Convection Ovens: Convection ovens circulate hot air, leading to faster and more even baking. If using a convection oven, you might need to reduce the temperature by 25°F (14°C).
3. Altitude
The higher the altitude, the lower the atmospheric pressure. This can affect the boiling point of water and the rate of fermentation.
- High Altitude Adjustments: For every 1,000 feet (305 meters) above sea level, increase the oven temperature by 25°F (14°C) and decrease the baking time by 5 minutes.
3 Tips for Perfect Bread Every Time
Achieving the perfect loaf is a culmination of various factors, not just the oven temperature. Here are some expert tips to ensure your bread turns out perfect every time. Besides that, learning how to store bread properly will help you enjoy for a longer time.
1. Preheating the Oven
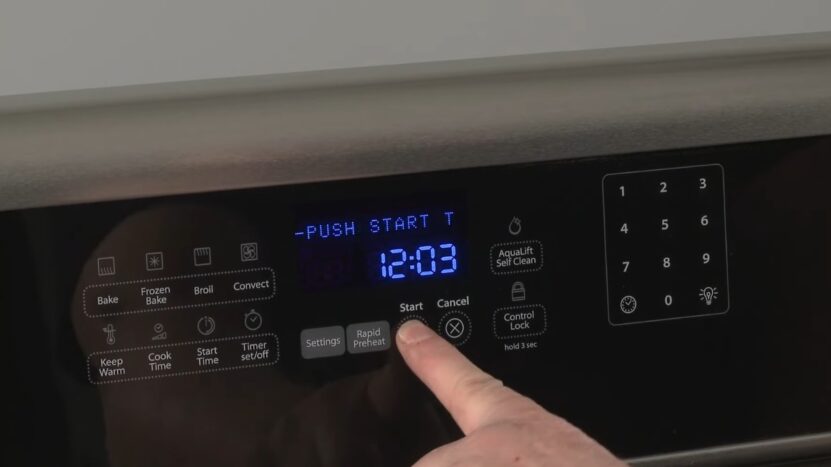
Always preheat your oven for at least 20 minutes before baking. This ensures a consistent temperature throughout the baking process.
- Baking Stones: These can help maintain a steady oven temperature, especially for breads that require high heat.
2. Monitoring the Internal Temperature
Instead of relying solely on baking times, use a digital thermometer to check the bread’s internal temperature.
- Ideal Internal Temperature for Done Bread: 190°F (88°C) to 210°F (99°C), depending on the type of bread.
3. Cooling
Resist the temptation to slice the bread immediately out of the oven. Letting it cool allows the moisture to redistribute, ensuring a better texture.
- Cooling Time: At least 30 minutes for most breads.
The Right Ingredients Are Essential
The ingredients you use in your bread can also influence the ideal baking temperature. Let’s explore how some common additions can affect your baking process.
Sugars and Sweeteners
Breads with added sugars or sweeteners tend to brown faster due to the caramelization process.
- Adjusting for Sweet Breads: For breads with a high sugar content, consider reducing the oven temperature by 25°F (14°C) to prevent over-browning.
- Watch Out For: Honey and maple syrup, which can cause bread to brown even more quickly than granulated sugar.
Fats and Dairy
Breads made with butter, oils, or dairy can have a richer flavor and softer crumb. However, they also have a tendency to brown faster.
- Adjusting for Rich Breads: Like with sweet breads, you might need to reduce the oven temperature slightly.
- Benefit of Fats: They can give bread a softer crust and richer flavor, ideal for rolls or sandwich breads.
Here is a simple recipe with the right amount of ingredients for making the perfect one at home:
| Ingredient | Amount |
|---|---|
| All-purpose flour | 4 cups (500g) |
| Warm water | 1 1/2 cups (355ml) |
| Active dry yeast | 2 1/4 teaspoons (7g) |
| Granulated sugar | 2 tablespoons (25g) |
| Salt | 1 1/2 teaspoons (9g) |
| Olive oil (or melted butter) | 2 tablespoons (30ml) |
Instructions:
- In a small bowl, dissolve the sugar in warm water and then stir in the yeast. Allow to sit for 5-10 minutes until the mixture becomes frothy.
- In a large bowl, combine the flour and salt. Make a well in the center and pour in the yeast mixture and olive oil.
- Mix until a dough forms, then knead on a floured surface for about 10 minutes, or until smooth and elastic.
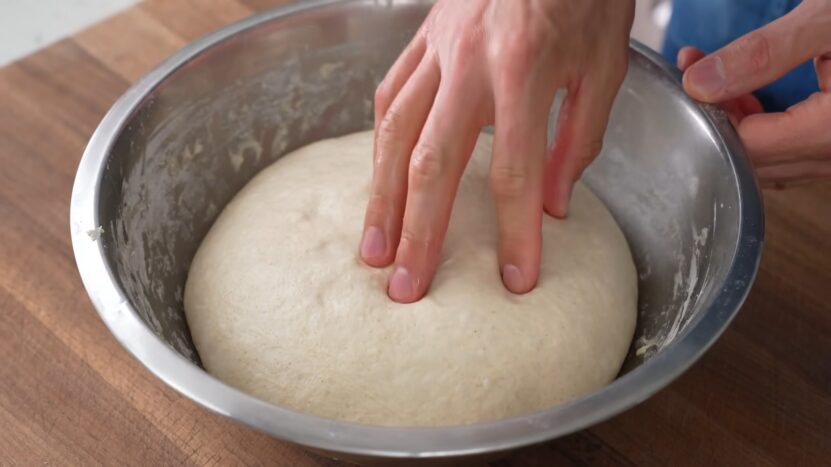
- Place the dough in a greased bowl, cover with a damp cloth, and let rise in a warm place for 1 hour, or until doubled in size.
- Preheat your oven as per the earlier guidelines. Shape the dough into a loaf and place in a greased loaf pan.
- Bake until the bread is golden brown and sounds hollow when tapped, typically around 25-30 minutes.
- Remove from the oven and let cool on a wire rack.
Pay Attention to the Steam
Steam plays a crucial role in the bread-baking process, especially during the initial stages of baking.
Why Steam?
Introducing steam at the beginning of the baking process helps keep the crust soft longer, allowing the bread to expand and rise fully. It also contributes to a shinier crust.
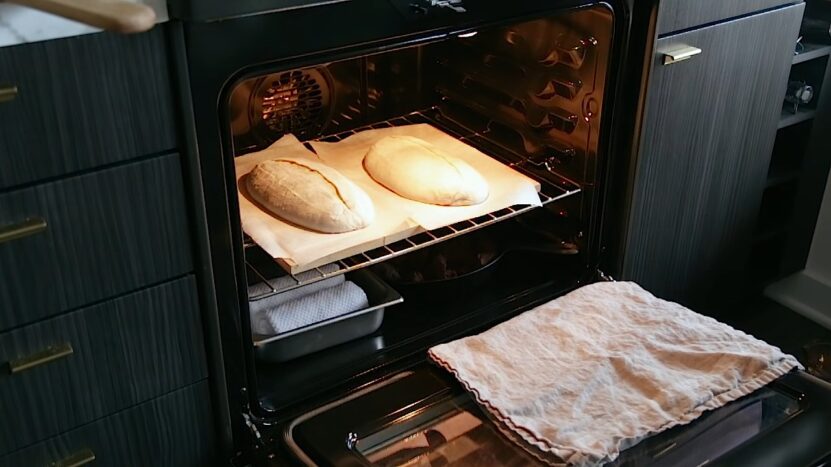
- Creating Steam: Some bakers use a spray bottle to mist the oven walls, while others place a pan of boiling water on the oven’s bottom rack.
- Professional Ovens: Many have built-in steam injectors, but home bakers can replicate this effect with the methods mentioned above.
The Duration of Steam
While steam is beneficial at the start of the baking process, it’s essential to bake the bread in a dry environment during the latter half to achieve a crisp crust.
- When to Stop: After the first third of the baking time, remove any water pans and stop introducing steam.
- Result: A loaf with a soft interior and a beautifully crisp and golden crust.
Experiment and Take Notes
Baking is as much about intuition and personal preference as it is about following exact measurements and temperatures.
Why Experimenting is the Best Approach?
Every baker’s journey is filled with trials, errors, and delightful discoveries. Don’t be afraid to experiment with oven temperatures to find what works best for your specific recipe and oven.
- Keep a Baking Journal: Note down the temperatures used, baking times, and the results. Over time, you’ll have a personalized guide to your perfect loaf.
- Trust Your Senses: Sometimes, the best indicator of a bread’s doneness isn’t the clock but the aroma, color, and sound (a hollow sound when tapped) of the bread.
FAQs
Why Is My Homemade Bread so Dense?
A dense bread can result from several factors:
- Insufficient Kneading: The dough might not have been kneaded long enough to develop the gluten.
- Old Yeast: If the yeast is expired or not activated properly, it won’t produce enough carbon dioxide, leading to a dense loaf.
- Overproofing: Letting the dough rise for too long can cause it to collapse, resulting in a denser texture.
Can I Use Tap Water for My Bread Dough?
Yes, you can use tap water. However, if your tap water is heavily chlorinated, it might inhibit yeast activity. In such cases, it’s better to use filtered or bottled water to ensure optimal yeast fermentation.
How Can I Add More Flavor to My Basic Bread Recipe?
Here are several ways to enhance the flavor of your bread:
- Fermentation: Longer fermentation times can develop deeper flavors.
- Add-ins: Incorporate ingredients like olives, sun-dried tomatoes, herbs, or cheese.
- Preferments: Using a sponge, biga, or poolish can add complexity to the bread’s taste.
Why Does My Bread Have a Thick Crust?
A thick crust can develop due to:
- High Oven Temperature: Baking at a very high temperature can cause rapid crust formation.
- Extended Baking Time: Baking the bread for too long can result in a thicker crust.
- Lack of Steam: Introducing steam at the beginning of baking helps in achieving a thinner crust.
Can I Freeze Bread Dough for Later Use?
Yes, you can freeze bread dough. After the first rise, punch down the dough, shape it into a ball, wrap it tightly in plastic wrap, and then place it in a freezer bag. When you’re ready to bake, thaw the dough in the refrigerator overnight, shape it, let it go through the second rise, and then bake as usual.
Summary
While the ideal oven temperature for baking bread generally lies between 350°F (177°C) to 475°F (245°C), it’s essential to consider other factors like the type of bread, oven variability, and altitude. By understanding the science behind bread baking and following expert tips, you can achieve a perfect loaf every time.

