Share Post:
If your garden is thriving, you might find yourself with an abundance of herbs you can’t use right away. One of the easiest ways to preserve their flavor is to freeze them. This method works particularly well for delicate, green herbs that grow back quickly after harvest.
The freezing process helps retain both their taste and texture, ensuring you can use them throughout the year without any loss of quality.
This guide will walk you through the best way to freeze and store your herbs, using a simple method that works for most green herbs.
Step-by-Step Process
Here’s how you can freeze your home-grown green herbs efficiently and keep their flavor intact for future use:
1. Harvest and Clean
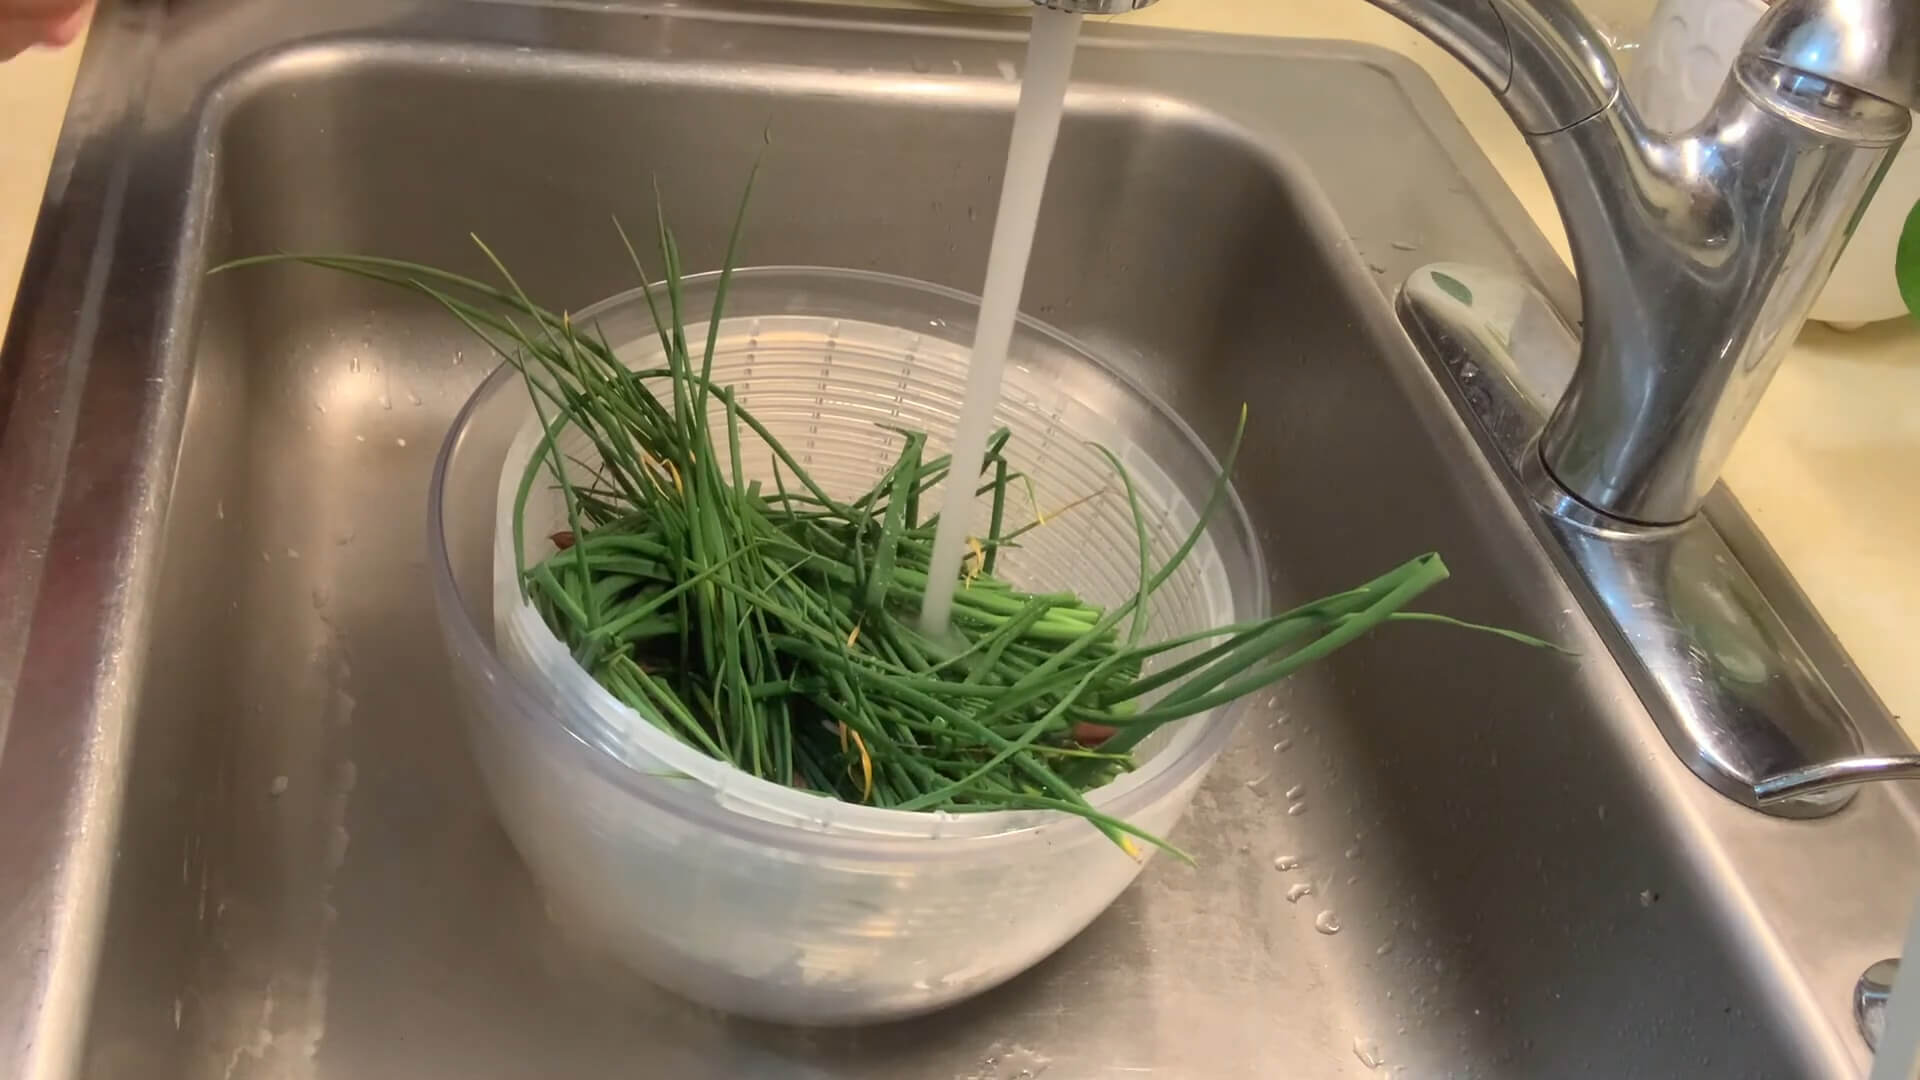
Start by cutting the herbs at the base of the stems. Be sure to choose healthy, green leaves or stalks for the best results. After harvesting, gently rinse them in cool water to remove dirt or debris.
2. Dry Completely
Drying thoroughly is critical. If any water is left, ice crystals can form during freezing, which might damage the texture of the herbs. Pat them dry with a towel or use a salad spinner to speed up the process.
3. Prepare for Freezing
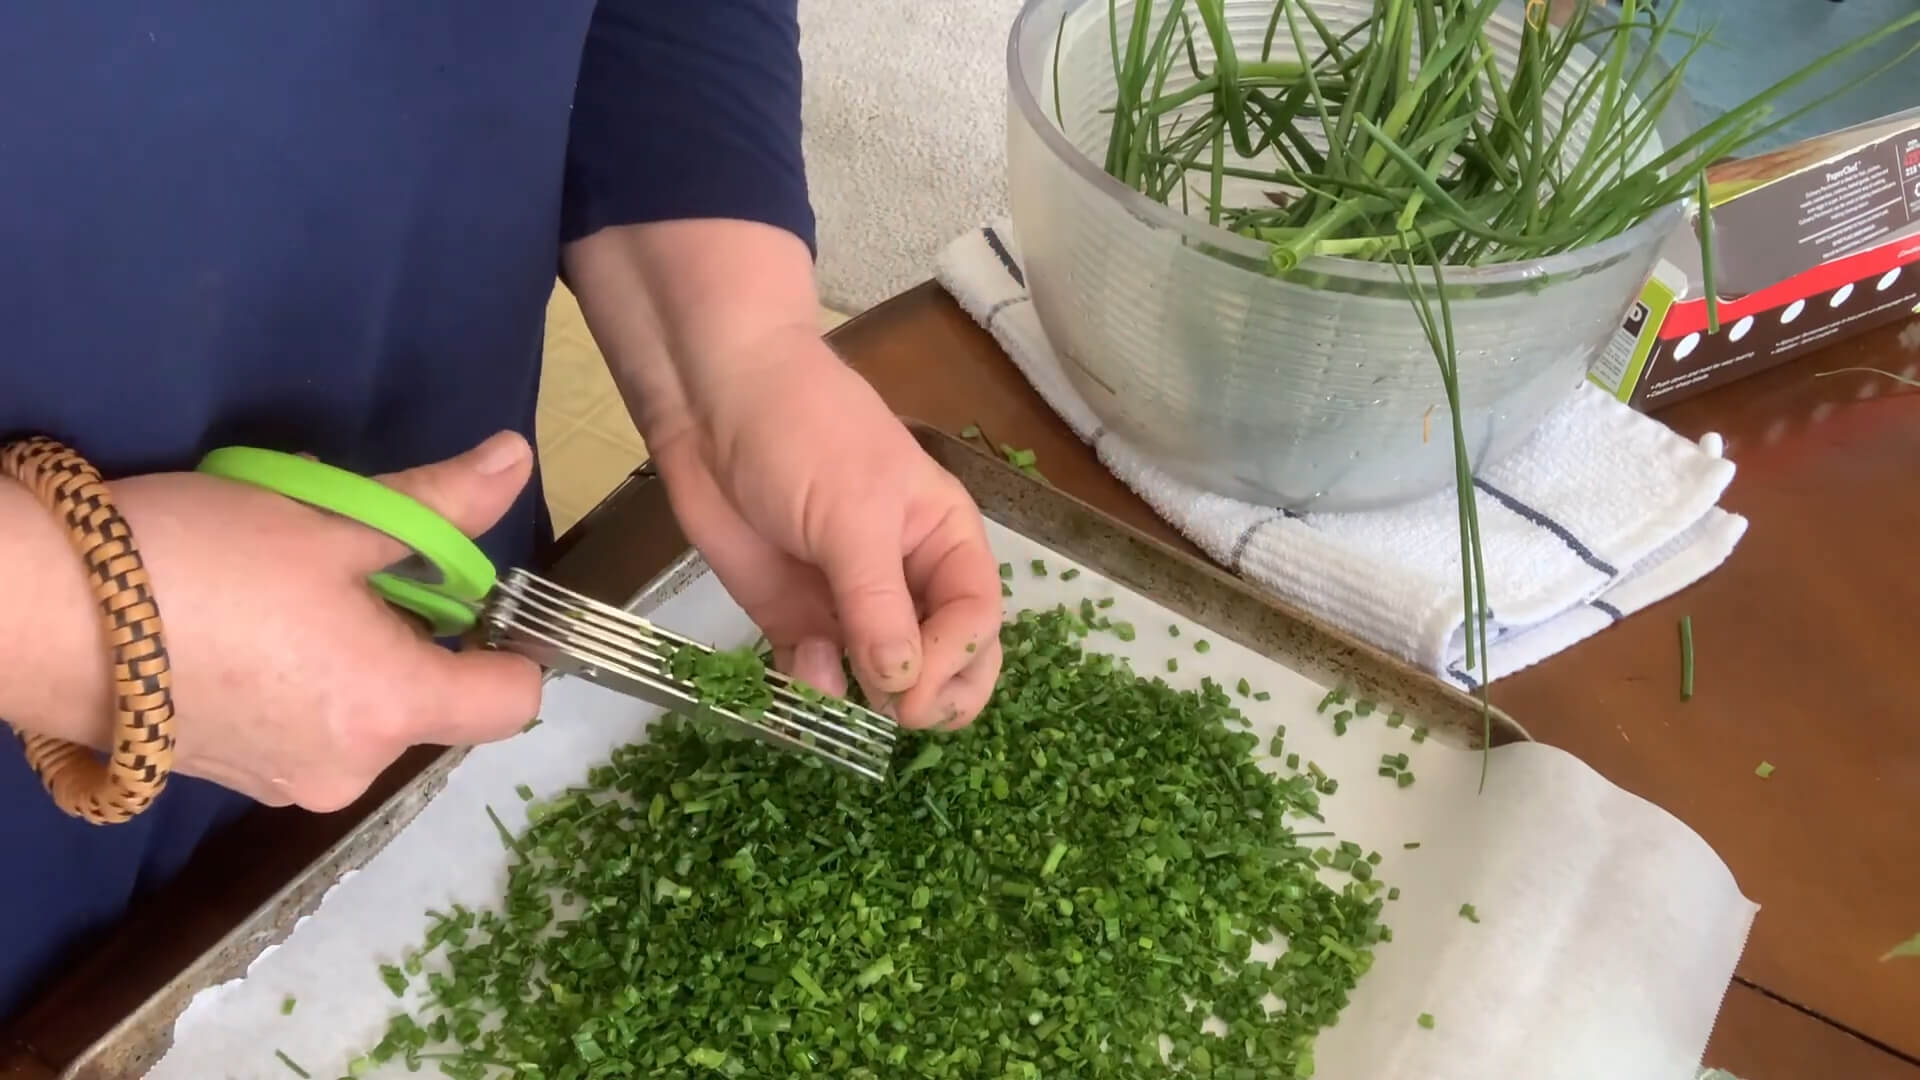
Cut the herbs into small pieces. Spread them out on a baking sheet in a single layer. This step ensures they freeze individually, preventing clumping.
4. Freeze the Herbs
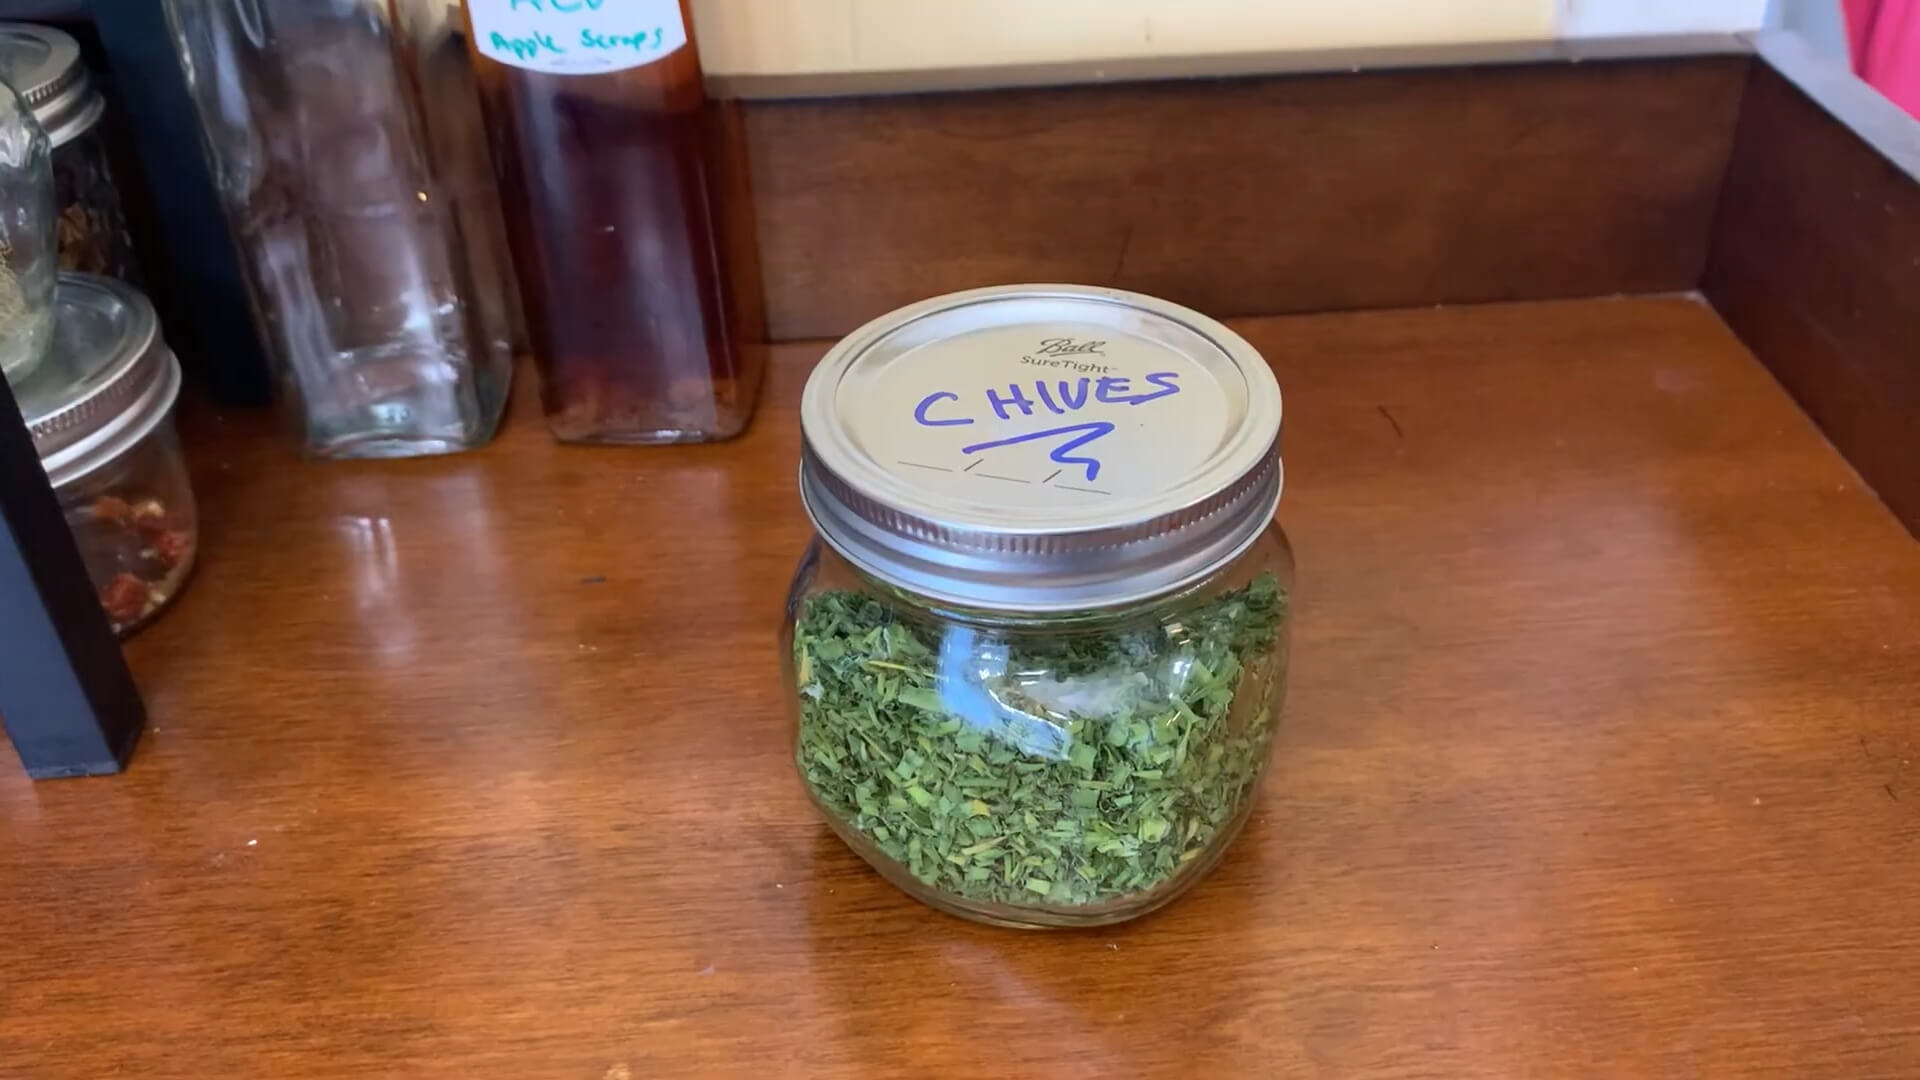
Place the baking sheet in the freezer. Since they are small and thin, they’ll freeze within an hour or two. Once frozen, transfer them to freezer-safe bags or containers. Label with the date for easy reference later.
5. Use When Needed
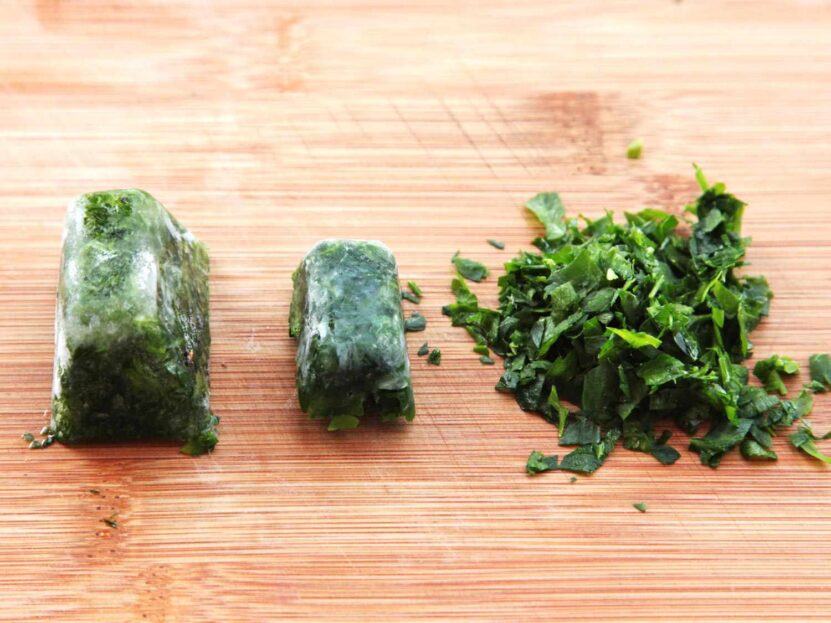
When ready to cook, simply grab the frozen herbs straight from the freezer. No need to thaw in advance—just add them directly into your dish for a burst of fresh flavor.
Why Freeze Herbs Instead of Drying Them?
While drying is a common preservation technique, it can dull the flavor over time, especially for softer varieties. Freezing, on the other hand, captures the fresh essence without requiring any special equipment.
It’s also faster than drying and allows you to preserve the herbs’ natural color, which often fades with other methods.
Best Time to Harvest Your Herbs
Timing is crucial for freezing herbs. The best time to harvest is in the early morning after the dew has evaporated but before the heat of the day sets in.
This is when herbs are at their peak, filled with essential oils that contribute to their flavor. Harvesting at the right time ensures the best possible outcome when freezing.
Tools You’ll Need for Freezing
Freezing herbs is straightforward, but having the right tools will make the process smoother:
- Sharp scissors or garden shears: To ensure a clean cut at the base.
- Salad spinner or towels: For thorough drying after washing.
- Baking sheet: For freezing herbs in a single layer.
- Freezer-safe bags or containers: To store frozen herbs.
- Labels and markers: For marking the date and herb type, which helps with identification later.
How to Use Frozen Herbs in Cooking
Frozen herbs are incredibly easy to use. There’s no need to thaw them before adding them to dishes. Simply take out the amount you need and toss it directly into soups, stews, sauces, or any dish that requires cooked herbs.
They retain much of their flavor and aroma, making them an excellent substitute for fresh.
Ideal Dishes for Frozen Herbs
- Soups and Stews: Frozen herbs add flavor without the need for fresh garnishes.
- Egg Dishes: Perfect for scrambled eggs or frittatas.
- Pasta Sauces: Stir them directly into your sauces for a burst of garden-fresh taste.
- Homemade Butters or Oils: Blend frozen herbs with butter or olive oil for infused flavors.
What Herbs Freeze Well?
Not every herb freezes equally well. Here’s a quick list of those that work best when frozen:
- Basil: Freezes well when blended with oil first.
- Oregano: Holds its flavor in frozen form.
- Thyme: Retains its potency.
- Mint: Perfect for freezing, although it may darken slightly.
- Rosemary: Freezes solid and retains its structure.
- Parsley: Great for garnishing dishes straight from the freezer.
Avoid Freezer Burn
Freezer burn happens when moisture escapes from frozen food, leaving it dehydrated and affecting its taste. To avoid this, remove as much air as possible from your storage bags or containers before sealing them.
If you have a vacuum sealer, this can be particularly helpful in keeping herbs fresh longer.
Alternative Freezing Methods: Herb Cubes
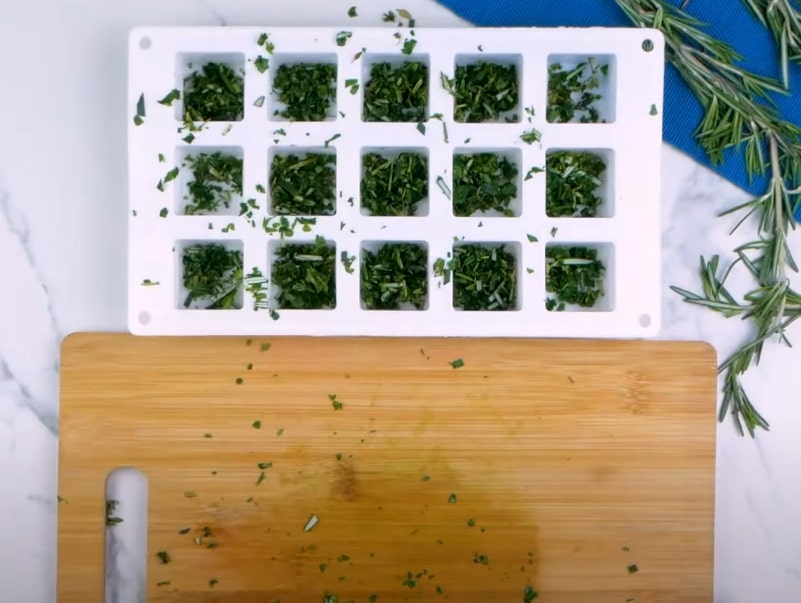
Another popular method of freezing herbs involves making herb cubes. This process combines chopped herbs with a bit of oil or water in an ice cube tray. Here’s how:
- Step 1: Chop your herbs finely.
- Step 2: Fill each compartment of the ice cube tray about halfway with herbs.
- Step 3: Top off with water or olive oil, then place the tray in the freezer.
- Step 4: Once frozen, transfer the cubes to a freezer bag for easy use later.
FAQs
How long do frozen herbs last in the freezer?
Frozen herbs can last up to one year if stored properly, but for the best flavor, use them within six months.
Do I need to thaw frozen herbs before using them?
No, frozen herbs can be used directly from the freezer. There’s no need to thaw them beforehand.
Can I freeze herbs without cutting them first?
Yes, but chopping them before freezing makes it easier to use just the right amount later.
Will frozen herbs taste the same as fresh ones?
While they may lose a bit of their freshness, frozen herbs still retain most of their flavor and are great for cooking.
Do frozen herbs lose their nutrients?
Herbs lose minimal nutrients during freezing, so they remain a healthy addition to your meals.
Can I freeze herbs in oil?
Yes, you can freeze herbs in olive oil using an ice cube tray, which is great for cooking later.
Final Thoughts
Freezing herbs is an easy, efficient way to extend the lifespan of your garden’s bounty. By following these simple steps, you’ll ensure that you always have a fresh supply ready to enhance your meals.
Whether you opt for the basic method or create herb cubes for convenience, the flavors of your garden can be enjoyed long after the growing season ends.

