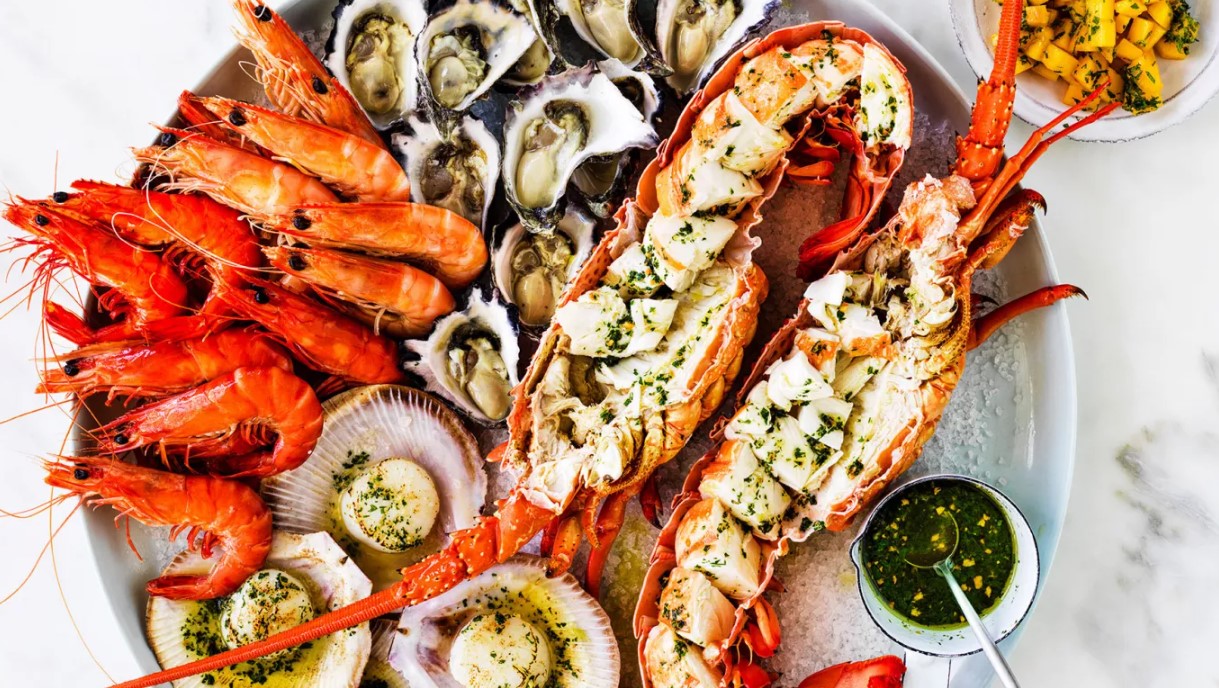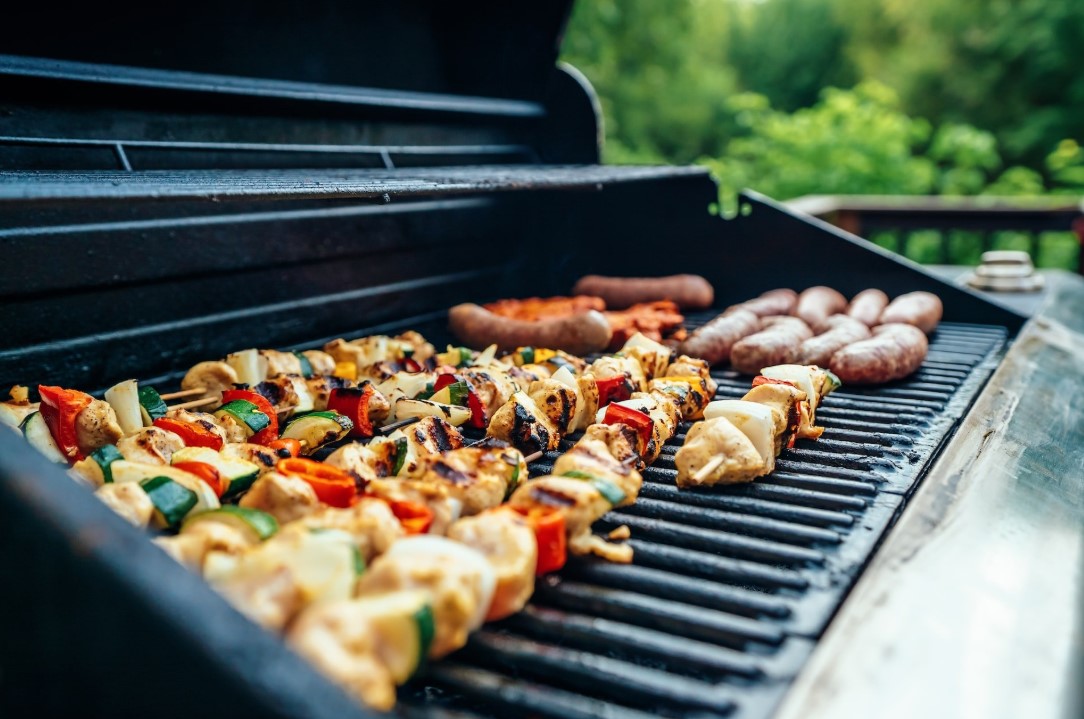
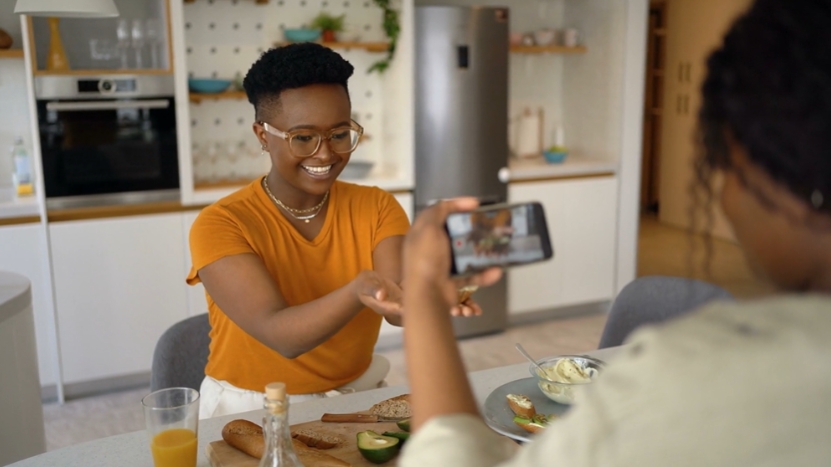
Food content reigns supreme, and video is one of the most effective ways to share your culinary creations with an engaged audience.
Whether you’re a seasoned chef or an enthusiastic home cook, creating video cooking content can help you showcase your skills, share recipes, and engage with your community.
However, producing high-quality videos that captivate viewers requires more than just good food—it’s about capturing the perfect angles, editing seamlessly, and ensuring that your content stands out in a crowded social media space.
This guide will walk you through essential tips and tools to help you create stunning cooking videos that will make your audience crave your culinary skills.
1. Plan Your Content and Storyboard
Before jumping straight into filming, take a moment to plan your video. Storyboarding is a helpful technique that allows you to map out what each scene will look like, from the opening shot to the final presentation.
When it comes to cooking content, a clear story is crucial. For instance:
Planning ahead will ensure you don’t miss important details and help with the overall flow of the video. Once you’ve established your vision, gather your ingredients, tools, and any props you’ll need.
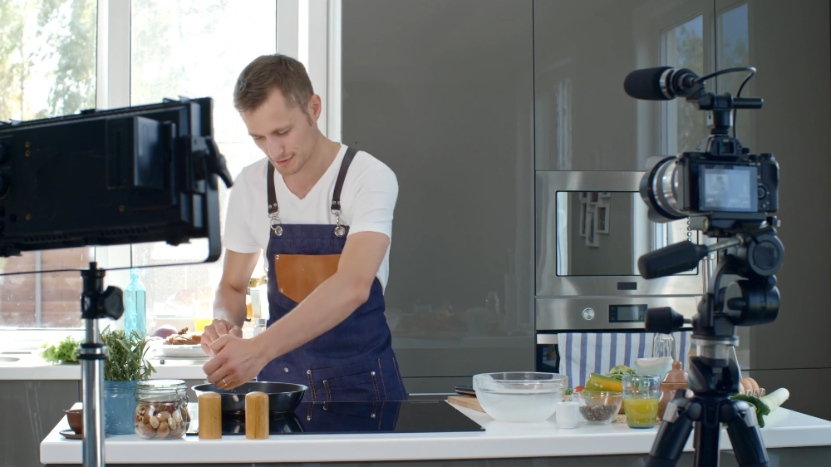
2. Choose the Right Equipment for Filming
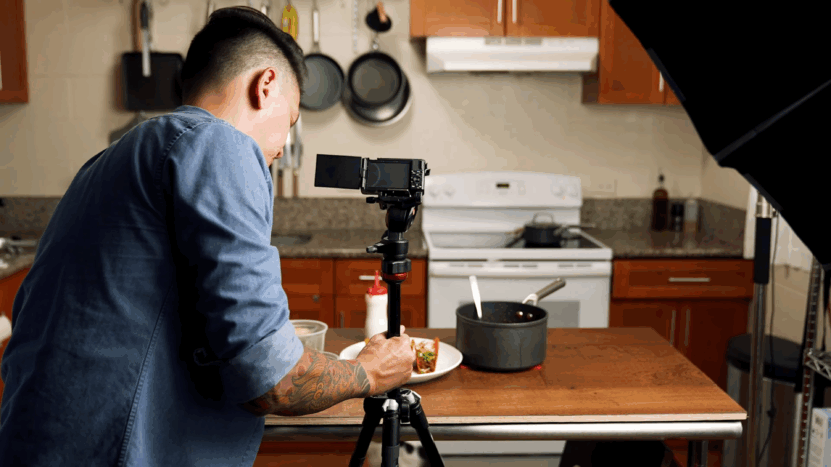
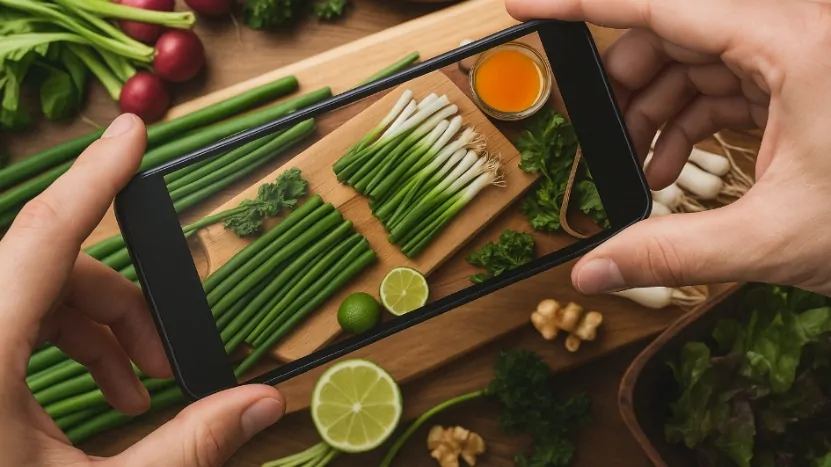
Today’s smartphones have powerful cameras that can shoot high-quality content, but a few basic tools can elevate your production value.
Key Equipment for Filming Cooking Videos
- Tripod or Stand: Stability is key when filming. A tripod or smartphone stand allows you to capture steady, smooth shots, even when you’re moving around the kitchen.
- Ring Light or Softbox Lighting: Good lighting is vital for making your food look appetizing. A ring light is perfect for shooting close-up shots of food, while softbox lights help reduce harsh shadows. Natural light can also work wonders, so try filming near a window if possible.
- Microphone: Clear audio is just as important as visual quality. Invest in a clip-on microphone or a shotgun mic to capture crisp sound, especially if you’re narrating while you cook.
- Overhead Shots: If you plan to include overhead shots to showcase your cooking techniques, consider using an adjustable tripod or a mount that can hover over your workspace.
These items will enhance the visual appeal of your cooking videos and provide a professional look without needing a studio setup.
3. Master the Art of Framing and Angles
View this post on Instagram
When filming your cooking process, don’t underestimate the importance of framing and camera angles. A variety of shots can make the video feel dynamic and engaging, rather than static.
Great Angles to Experiment With
- Close-ups: Capture the details of your ingredients, the texture of sauces, and the sizzle of food cooking. Close-ups can create a more intimate and satisfying connection with the audience.
- Overhead shots: Perfect for showing the step-by-step process of preparing a dish. This angle allows your viewers to follow along easily.
- Side shots: Great for showing the action from a different perspective. This angle is often used when you’re adding spices or ingredients to a pan, or flipping something in a skillet.
- Wide shots: Capture the overall scene, such as you working in the kitchen or the finished dish, creating a sense of space.
Mixing up these angles adds variety and keeps your content visually stimulating. Also, don’t forget to maintain good composition. Follow the “rule of thirds” to ensure the important elements of your scene are placed thoughtfully within the frame.
4. Focus on Natural Lighting
Lighting can make or break the quality of your cooking video. Food looks best when lit properly, and good lighting can even elevate simple dishes into something extraordinary.
Tips for Effective Lighting
- Natural light: If possible, film during the day when you have plenty of natural light coming in through windows. Place your setup near a large window, but avoid harsh direct sunlight that can create overexposed spots.
- Avoid overhead kitchen lights: These lights can create unflattering shadows, making the food look dull.
- Use bounce lighting: If you’re filming indoors without much natural light, try using a reflector to bounce light onto your food. This can help create a soft, even look that highlights the textures of your dish.
Good lighting doesn’t have to be expensive—just a few simple adjustments can make a huge difference in how your food looks on camera.
5. Editing Your Cooking Video for Maximum Impact
@jebbwest A few tips for your friday on how to get your food videos lookin a little more TASTY. 😋 #fyp #foodvideography #foodphotography #photographer #videographer ♬ original sound – Nick Anderson
The magic of video content often happens during the editing phase. Here, you can refine your footage, add music, and include helpful captions or transitions to create a cohesive and enjoyable viewing experience.
Tips for Editing Your Cooking Video
- Cut out the unnecessary: Edit out long pauses or mistakes to keep the pace of the video moving. Aim for a snappy, engaging flow.
- Use captions and text: Overlay text to highlight key ingredients or provide extra information on cooking tips. This is especially helpful for viewers who may be watching without sound.
- Incorporate smooth transitions: Avoid jarring cuts. Use smooth transitions between scenes to make the video feel more cohesive.
- Speed up certain parts: Some cooking processes, such as stirring or simmering, can take time, but don’t require too much attention. Speeding up these parts can make the video more efficient while keeping your audience engaged.
To make your video look more polished, consider using a free video background remover tool to clean up distracting or cluttered backgrounds. This feature can help make your cooking shots look more professional and allow your viewers to focus entirely on the food.
6. Add Music and Sound Effects
The right background music can elevate the atmosphere of your cooking video. Choose a track that complements the mood of your content—whether it’s upbeat for a fast-paced recipe or calm for a more relaxed cooking tutorial.
Sound effects, such as the sizzle of food on the stove or the sound of a knife chopping through vegetables, can make your video feel more immersive and enjoyable.
7. Optimize Your Video for Social Media
Depending on the platform, you may need to adjust the size or length of your video to optimize it for different formats.
- Instagram: For posts, aim for shorter, engaging videos (less than 1 minute). Use square videos for the feed and vertical videos for Stories and IGTV.
- YouTube: Longer-form videos (5-10 minutes) work well here. Use thumbnails that feature your dish to grab attention.
- TikTok: Short, attention-grabbing clips are ideal. Make sure the first few seconds are visually captivating.
Each platform has its own specifications, so tailoring your video to fit these requirements will increase its chances of success.
Conclusion
Creating stunning video cooking content doesn’t require a high-budget studio or professional equipment. With a little planning, the right tools, and a good eye for framing and editing, you can produce high-quality cooking videos that captivate your audience.
Incorporating techniques like background removal and dynamic camera angles can elevate your content, making it stand out across social media platforms.
By focusing on these essentials, you can craft videos that engage your viewers and leave them excited to try your recipes. With a bit of creativity and the right resources, you’ll be able to share your passion for food in an impactful and professional way.