If you’re looking to add a warm, rustic touch to your holiday decor, a homemade dried orange slice garland is the way to go.
Not only does it look charming, but it also fills your home with a delightful citrus scent. Plus, it’s a fun and easy project that you can do with your family or friends. Let’s get started!
Gathering Your Supplies
Before diving into the steps, let’s make sure we have everything we need. Here’s what you’ll need:
- Oranges (6-10, depending on the length of the garland)
- Sharp knife
- Cutting board
- Baking sheet
- Parchment paper
- Oven
- Twine, string, or ribbon
- Needle
- Scissors
Prepping the Oranges

Start by washing the oranges thoroughly. You want to make sure they’re clean, as you’ll be displaying them in your home. Next, slice the oranges. Aim for thin, even slices, about 1/4 inch thick. Thinner slices will dry more quickly and evenly.
If the slices are too thick, they may not dry completely, which could lead to mold. Lay the slices flat on a baking sheet lined with parchment paper. Make sure the slices are not overlapping.
Drying the Orange Slices
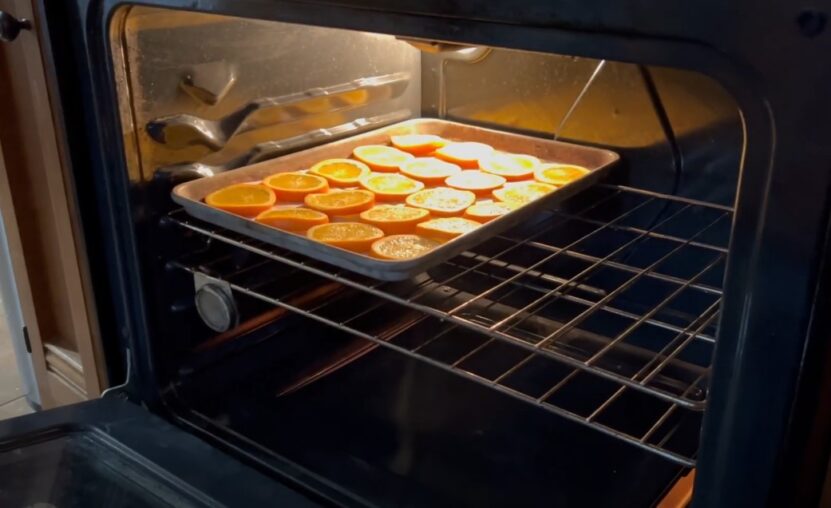
Preheat your oven to 200°F (90°C). The key here is to dry the oranges slowly to avoid burning them. Place the baking sheet with the orange slices in the oven. Leave the oven door slightly ajar to allow moisture to escape.
This step is crucial for ensuring the oranges dry out properly. Bake the slices for 2-3 hours, flipping them every 30 minutes. The oranges are done when they’re dry to the touch and no longer sticky. They should have a slightly translucent appearance.
Once they’re done, let them cool completely. This will allow them to harden and become more durable for threading onto the garland.
Assembling the Garland
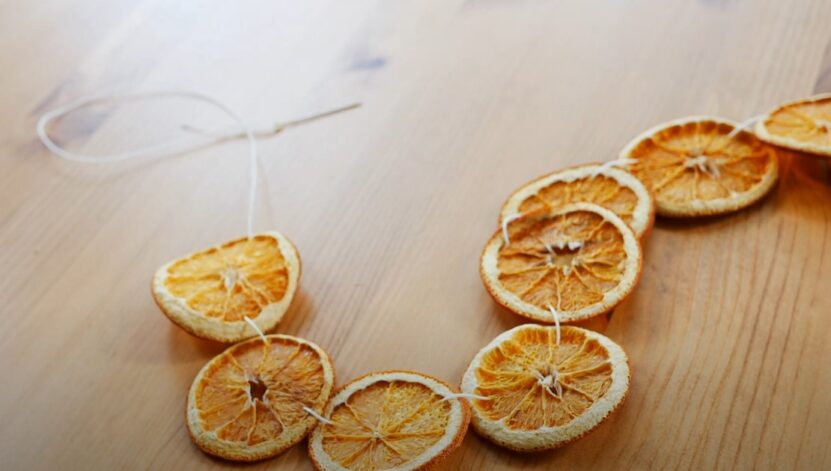
Now comes the fun part – putting your garland together! Cut a piece of twine, string, or ribbon to your desired length. Remember to leave some extra length at each end for hanging. Thread the needle with the twine.
Carefully pierce the top of each orange slice and thread it onto the twine. You can space the slices evenly or create a pattern by alternating with other natural elements like cinnamon sticks, star anise, or dried cranberries.
If you’re using a thicker ribbon, you might need to punch holes in the slices with a skewer or toothpick before threading.
Adding Extra Touches
For a more festive look, you can add additional decorations to your garland. Here are some ideas:
- Cinnamon sticks: They add a lovely scent and a rustic look.
- Star anise: These little star-shaped spices look beautiful and smell amazing.
- Dried cranberries: String a few between the orange slices for a pop of color.
- Pinecones: Small pinecones can be added for a touch of nature.
Feel free to get creative and use whatever natural elements you like.
Hanging Your Garland
Once your garland is assembled, it’s time to hang it up. Here are a few ideas for where to display your masterpiece:
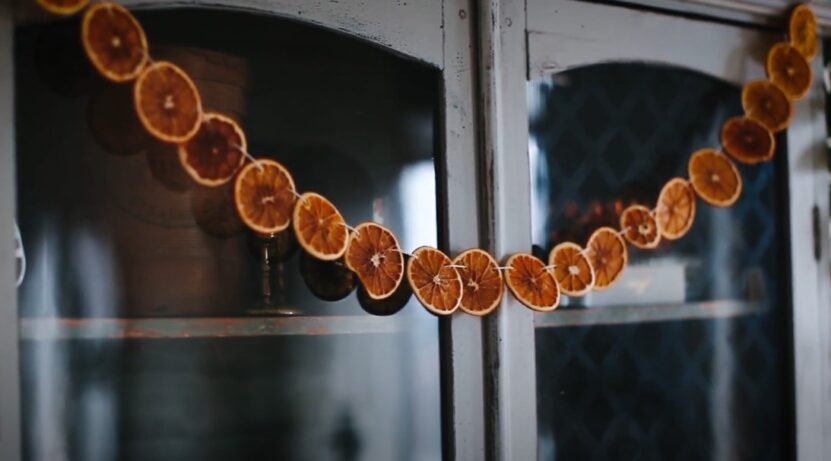
- Fireplace mantel: Drape the garland across the mantel for a cozy, festive look.
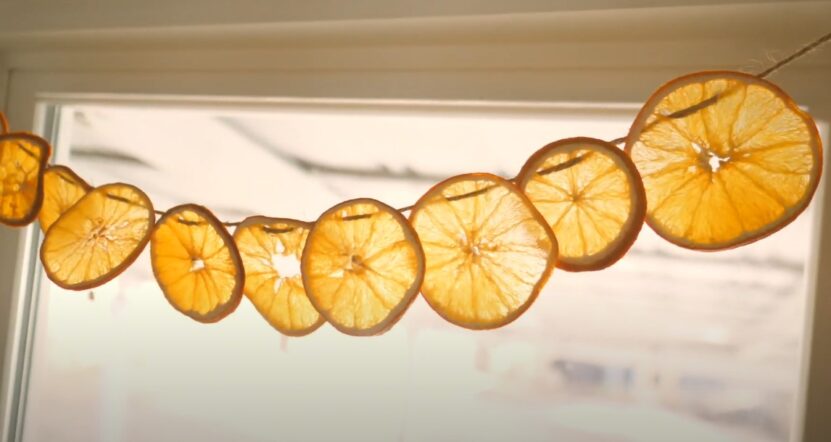
- Windows: Hang the garland across a window to let the sunlight shine through the orange slices, creating a beautiful stained-glass effect.
- Christmas tree: Use the garland as a natural, aromatic decoration for your tree.
- Doorways: Frame a doorway with the garland for a welcoming touch.
Use the extra length of twine at each end to secure the garland in place. You can tie it, tape it, or use small hooks.
Caring for Your Garland
To ensure your garland lasts throughout the holiday season, follow these tips:
- Keep it dry: Moisture is the enemy. If your garland gets damp, the orange slices may mold. Hang it in a dry, well-ventilated area.
- Avoid direct sunlight: Prolonged exposure to direct sunlight can cause the colors to fade.
- Store properly: If you want to use your garland again next year, store it in a cool, dry place. Wrap it in tissue paper and place it in a sturdy box.
Making Variations
Once you’ve mastered the basic orange slice garland, you might want to experiment with variations. Here are a few ideas:
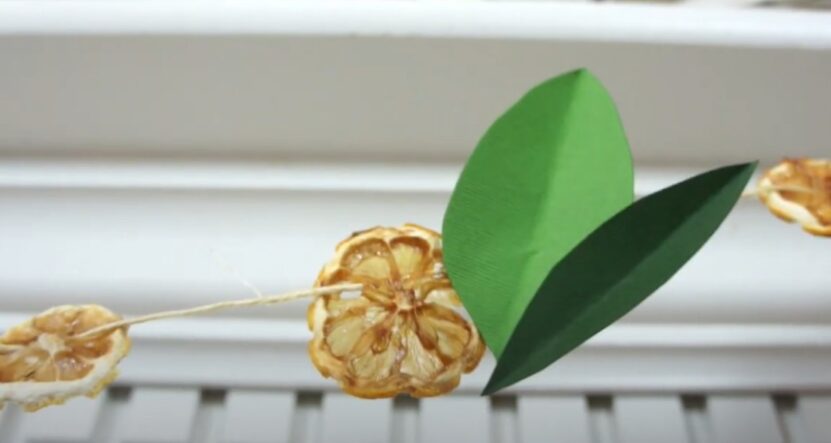
- Lemon and lime slices: Mix in dried lemon and lime slices for a colorful citrus garland.
- Herbs: Add sprigs of dried rosemary or thyme for a fragrant, herbal touch.
- Ornamental beads: Incorporate wooden or glass beads for added texture and interest.
The possibilities are endless, and the beauty of this project is that you can customize it to suit your style and decor.
A Fun Project for All Ages
Creating a dried orange slice garland is a wonderful way to spend a winter afternoon. It’s simple enough for kids to help with, making it a perfect family activity. Plus, it’s a great way to slow down and enjoy some creative time during the busy holiday season.
The process of making the garland is just as enjoyable as the finished product. The scent of oranges baking fills your home with a warm, festive aroma, and the finished garland adds a touch of handmade charm to your decor.
Final Thoughts
I hope you enjoy making your dried orange slice garland as much as I do. It’s a simple, beautiful, and fragrant addition to any home during the holidays. Plus, it’s a great way to bring a touch of nature indoors and celebrate the season in a creative, sustainable way.
So grab some oranges, gather your supplies, and get crafting. You’ll have a beautiful, homemade garland in no time, ready to brighten up your home and spread some holiday cheer.