Share Post:
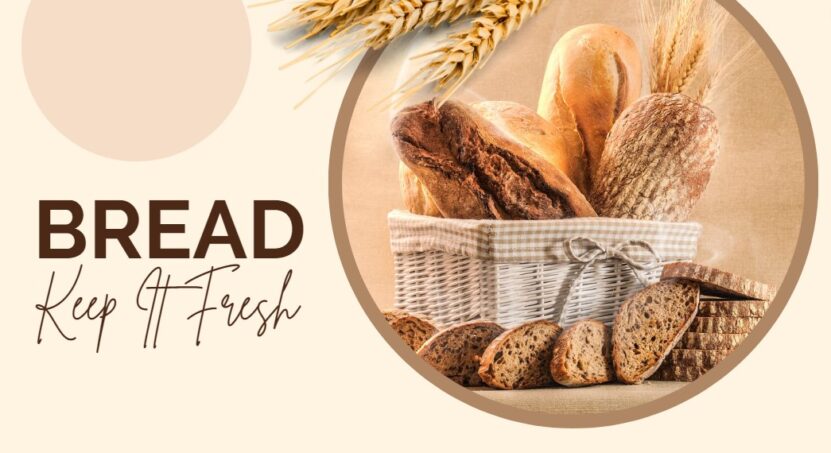
I love having a local bakery within walking distance. We pick up a fresh loaf of bread at the Ithaca Bakery at least once a week. We especially love their sourdough sandwich bread, which is funny because I always thought I didn’t like sourdough. Usually, we come home with a sourdough or whole wheat oatmeal sandwich loaf, but sometimes we mix it up (or they are completely out of sandwich bread) and bring home a French round or marble artisan loaf.
I don’t want to think about the number of times we’ve gone to use the last few slices, only to find them speckled with green and white mold. Sometimes, even a full 1/3 of the loaf ends up in the trash. That’s the one downside of buying fresh bread without preservatives… it just doesn’t last that long!
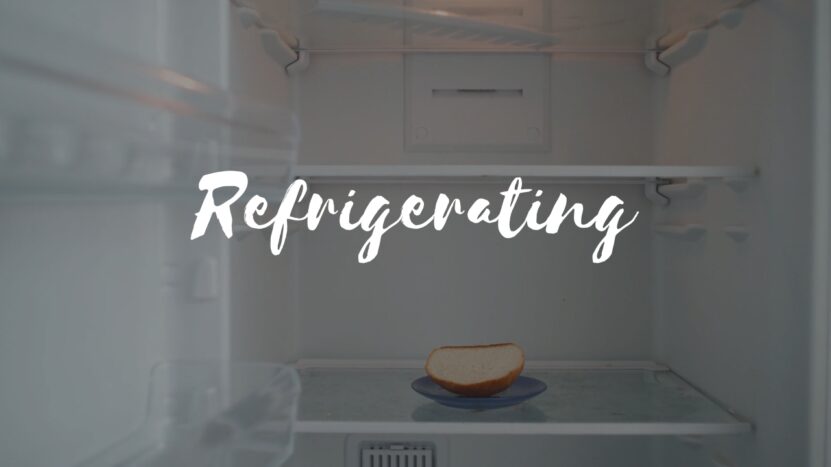
Refrigerating
Dan is {or used to be} a proponent of storing the bread in the refrigerator to make it last longer. While that does indeed slow down the growth of mold, it also increases the rate at which the bread stales.
To understand why this is, you need to understand what it means to say that bread “went stale.” Basically, when the bread comes out of the oven, its starch molecules very slowly start to clump and crystallize, driving moisture to the outer crust of the bread. The bread loses its fluffy texture and becomes dry and hard.
Crystallized starch molecules = water pushed out = stale bread
When you refrigerate bread, you actually speed up the staling process. Refrigeration temperatures are the temperatures at which starch crystallizes the fastest, so you’re really sacrificing the texture of your bread.
Note: If you plan on toasting your bread when you use it, refrigerating it is probably fine. Heating the bread above 140F actually reverses much of the staling.
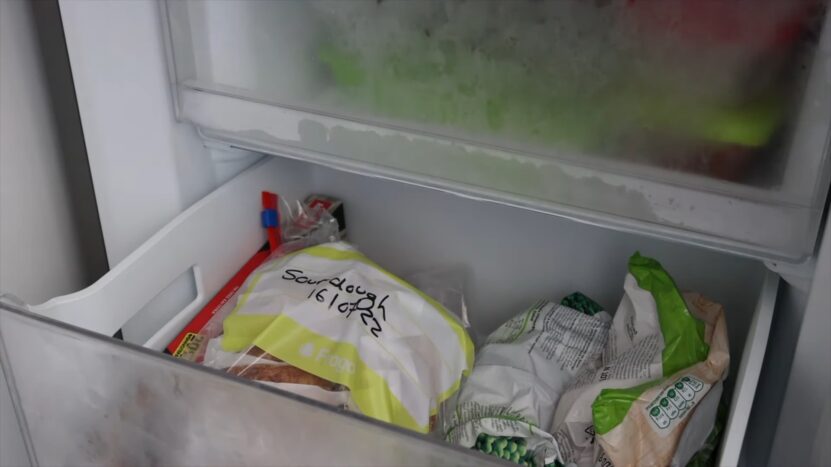
Freezing
If you freeze your bread, you completely halt the starch crystallization process. When you defrost your bread, the slices will still have that spongy crumb texture that you expect from bread.
Just be sure to wrap it tightly in a few layers of plastic wrap before freezing, and unwrap it before defrosting. Otherwise, the water from the melting ice crystals will get trapped on the surface of the bread, leaving you with soggy slices. Ew.
Learn the best techniques for freezing lasagna to save time and effort, perfect for busy households or meal prepping.
Plastic Bag, Room Temperature
This is where we used to go wrong in our bread storage. Our bread comes in a plastic bakery bag, and we would leave the uneaten pieces in there.
But as you may recall from the refrigeration section above, water gets pushed towards the crust of the bread as the bread stales. The bags are impervious to moisture, so the water has no way to evaporate. Instead, the water collects on the surface of the bread, providing perfect conditions for mold growth. Again, ew.
Paper Bag, Room Temperature
This is probably the best storage option for the first few days. Unlike plastic, paper allows the bread to “breath,” so the moisture can escape instead of providing mold breeding grounds. And, staling happens at a much slower rate at room temperature than it does at refrigeration temperature.
My Suggestion, in Summary?
For the first few days, store your bread in a paper bag. I’ve found that it stores better if I buy it uncut and slice it myself, but that is up to you! If you don’t think you’ll be able to eat it all before it goes stale, slice and freeze the bread, tightly wrapped in plastic. You’ll have no mold and no further staling! Just remember to think ahead and let it defrost {unwrapped!} for a few hours before you want to use it {though you can heat it up in the toaster in a pinch}.
If you’re also interested in preserving other homemade dishes, such as enchiladas, you can check out our comprehensive step-by-step guide on how to freeze them for later enjoyment.
Related Posts:
- 8 Tips to Keep Homemade Cookies Fresh for a Longer Time
- 8 Tips on How To Keep Coconut Oil As Liquid Without…
- The Best Way to Store Muffins for Maximum Freshness
- Best All-Purpose Egg Brands to Buy for Your Family…
- What Is The Ideal Oven Temperature For Baking Bread…
- How to Properly Score Your Bread - Mastering the Art


