Share Post:
`No one likes a soggy, microwave-reheated quesadilla. If you enjoy this tasty Mexican dish, you know how disappointing it can be when it’s cold or not properly reheated.
Thankfully, the answer is right in your kitchen: the air fryer.
The air fryer has become a popular kitchen tool for a good reason. It’s great for making crispy food without all the extra fat from frying. But it’s also amazing for reheating food.
Today, we’ll show you how to reheat a quesadilla in an air fryer, sharing easy tips to make sure it comes out crispy, warm, and delicious every time.
Step-By-Step Guide to Reheat Quesadilla
Ready to bring your leftover quesadilla back to life with that fresh-off-the-pan taste? Using an air fryer is a simple and effective way to achieve a crispy, warm, and delicious result.
Follow this detailed guide to ensure your quesadilla is reheated perfectly every time.
Step 1: Preheat the Air Fryer
Just like with a traditional oven, preheating is an important step when using an air fryer. It ensures that the heat is evenly distributed and helps achieve that perfect crispiness.
Set your air fryer to 350°F (177°C) and allow it to preheat for 3-5 minutes.
The step is crucial because starting with a cold air fryer might leave your quesadilla unevenly heated or soft in spots. Preheating ensures that the entire surface of the quesadilla gets that satisfying crunch while heating it through evenly.
Why Preheat?
- Crispier texture: A preheated air fryer gives the quesadilla a nice, crunchy finish.
- Even reheating: It prevents cold spots in the middle.
- Quicker cooking time: Preheating reduces the total reheating time.
Step 2: Arrange the Quesadilla Properly
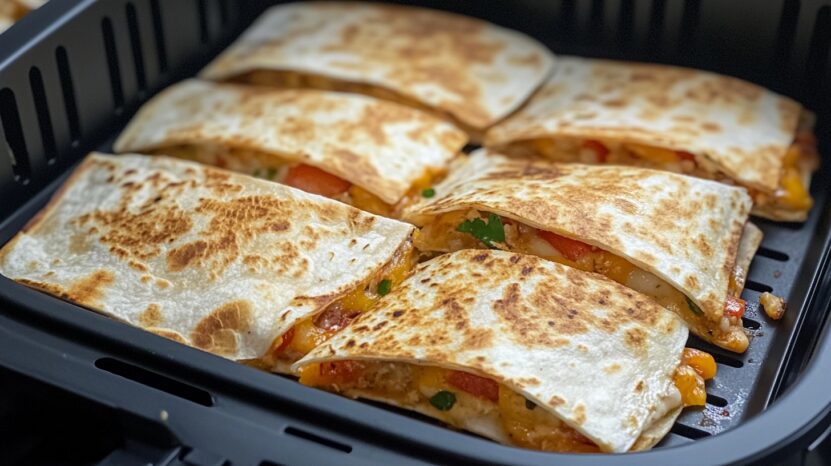
Once your air fryer is preheated, it’s time to place your quesadilla in the basket. Carefully lay it out flat in a single layer.
It’s important not to stack or overlap pieces, as this will block the airflow, leading to uneven reheating.
Each piece should have enough space around it so the air can circulate freely. If you have more of them or larger pieces, you may need to reheat them in batches to avoid overcrowding the basket.
Tips for Arranging:
- Lay the quesadilla pieces flat in a single layer for even heating.
- Don’t overcrowd the basket, this ensures the quesadilla gets crispy and evenly heated.
- If you’re reheating multiple at once, reheat in batches for best results.
Step 3: Start the Reheating Process
Now that the quesadilla is arranged, set your air fryer timer for 3-5 minutes for reheating. The exact time will depend on the thickness of your quesadilla and the specific model of your air fryer. For thinner ones, start with 3 minutes.
For thicker or stuffed quesadillas, you may need to lean towards the 5-minute mark. The key here is to heat the quesadilla long enough to make it crispy on the outside but still warm and soft inside without drying it out.
Timing Guidelines:
- Thinner quesadillas: 3 minutes.
- Thicker or heavily stuffed quesadillas: 4-5 minutes.
- Check regularly: To avoid overcooking, it’s a good idea to check after 3 minutes and adjust as needed.
Step 4: Check the Quesadilla
Once the timer goes off, it’s time to check on your quesadilla. Carefully open the air fryer and assess its crispiness.
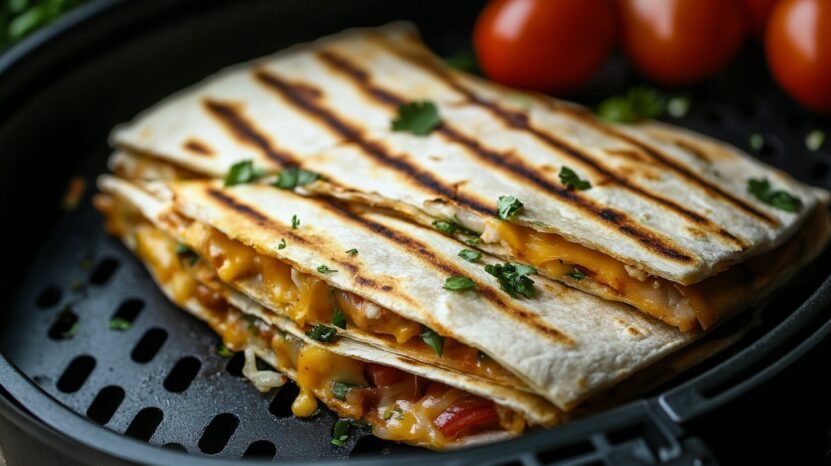
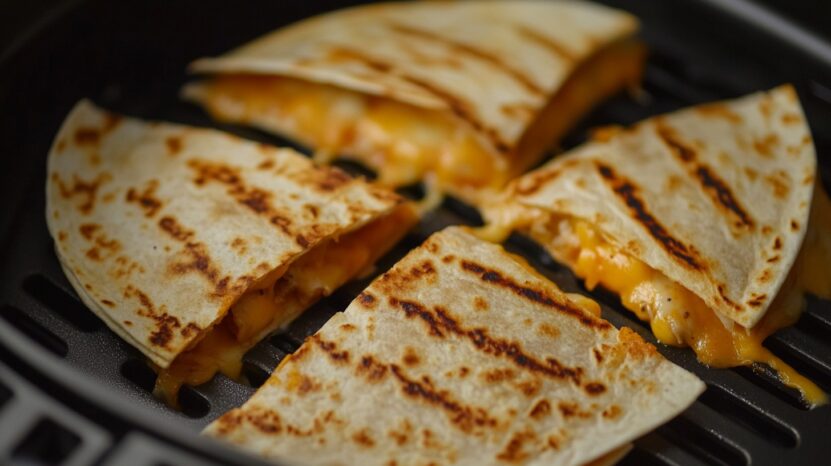
Reheated quesadilla should feel crispy to the touch on the outside and warm throughout.
If it’s not as crispy as you’d like or still cold in spots, you can place it back in the air fryer for 1-2 more minutes.
Be sure to check in small intervals to avoid overcooking, as the air fryer can quickly go from perfect to overdone.
What to Look For:
- Crispy exterior: The outside should be lightly browned and crunchy.
- Hot inside: The filling should be evenly warmed, and the cheese should be melty.
- Additional time: If needed, reheat for another minute or two, checking frequently.
Step 5: Serve and Enjoy
Once you reheat the quesadilla, the desired level of crispiness and warmth, carefully remove it from the air fryer.
Use tongs or a spatula to avoid burning your hands, as both the air fryer basket and the quesadilla will be hot.
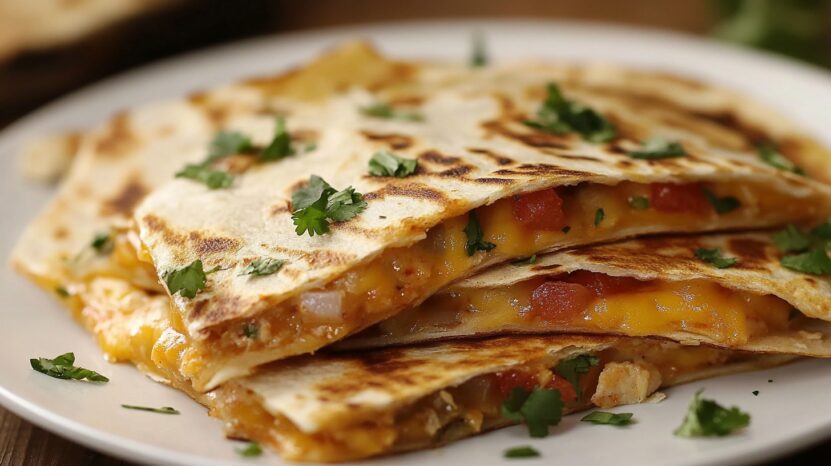
If you want, slice it into smaller portions and serve immediately for the best experience.
Varieties and Reheating Considerations
Quesadillas come in a wide range of varieties, from classic cheese to more adventurous fillings like meat, vegetables, or even fruit.
Each type has its characteristics that can influence the reheating process.
Let’s take a look at how to handle the reheating process for various types.
Cheese
Cheese quesadillas are the most common and easiest to reheat. Because they are only filled with cheese, you don’t need to worry about uneven cooking or the risk of underheating certain ingredients.
The goal here is to reheat it just long enough to melt the cheese fully and get that satisfying crispy exterior.
Simply follow the reheating steps provided above, and your cheese quesadilla will be as good as new.
- Melted cheese texture: The cheese should be gooey and warm.
- Crispiness: Make sure the tortilla gets lightly browned and crisp without overdoing it.
Meat-Filled
If your quesadilla contains meat, such as chicken, beef, or pork, it’s important to ensure that it’s reheated thoroughly, especially if it was refrigerated for a period. Cooked meat should be reheated to an internal temperature of 165°F (74°C) to ensure it is safe to eat.
When reheating meat-filled quesadillas, it may take a bit longer to heat the meat evenly while keeping the tortilla crispy.
- Check the internal temperature: Use a food thermometer to ensure the meat reaches 165°F (74°C).
- Balance heat: You might need to adjust the reheating time slightly to ensure the meat inside is hot enough without burning the tortilla.
Veggie-Filled
Vegetarian quesadillas packed with vegetables such as bell peppers, onions, mushrooms, or spinach offer their challenges while you reheat the quesadilla. Different vegetables may react differently to heat, some may cook quicker than others.
For example, crunchy vegetables like peppers or onions might take a little longer to warm through and maintain their texture, while softer vegetables like mushrooms, beans, or tomatoes could reheat faster and risk becoming too soft.
- Adjust time: Watch for over-softening of delicate vegetables like mushrooms or tomatoes.
- Even reheating: To avoid unevenly reheated veggies, consider stirring the fillings slightly midway through the process.
- Maintain texture: Ensure that the reheating process doesn’t make your vegetables too soggy or overcooked.
Fruit-Filled
Fruit-filled quesadillas are a delicious sweet twist on the traditional recipe. These might include fillings like apples, peaches, or even berries combined with cinnamon and sugar.
When reheating these quesadillas, you’ll want to be careful about the temperature to avoid burning the fruit or caramelizing the sugars too much. Consider using a lower temperature and keeping a close eye on it to prevent overcooking the sweet filling.
- Lower the temperature: Set the air fryer to a slightly lower temperature (around 325°F (163°C)) to prevent the fruit from scorching.
- Check for sugar burn: Sugars in the fruit or added sweeteners can burn easily, so keep an eye on the quesadilla to avoid an unpleasant bitter taste.
- Preserve the fruit texture: You want the fruit to be warm but not mushy.
To Sum It Up
And there you have it, your complete guide to reheat a quesadilla in an air fryer.
The process is quick and easy, and it can make it taste just as good as when it was freshly cooked.
The trick is finding the right balance between temperature and time.
So, don’t be afraid to try it out and see what works best for you. Say goodbye to soggy, microwaved quesadillas and enjoy a crispy, delicious meal whenever you want!

